for mannnnny months i have been dying to get started on a farm table. we have bookmarked a billion blog postings showing the different steps of how people made their own, and finally it was time to make our own.
we went off these two plans to create our own version. all measurements had to be adjusted to create a six foot table.
tommy and ellie's farmhouse table
ana white farmhouse table
we did not want to use two 2x4's put together for the table legs so we chose to go with 4x4's like tommy and ellie. plus we wanted to make our table as close as possible to the original restoration hardware farmhouse table.
finding untreated 4x4's was quite the nightmare. we finally ended up choosing cedar which was muuuuuch more expensive than the regular untreated lumber, but this was going to be a long lasting piece of quality furniture, so well worth the extra money. after borrowing a friends truck and hauling all the lumber home, we started the building process!

this. took. FOREVER.
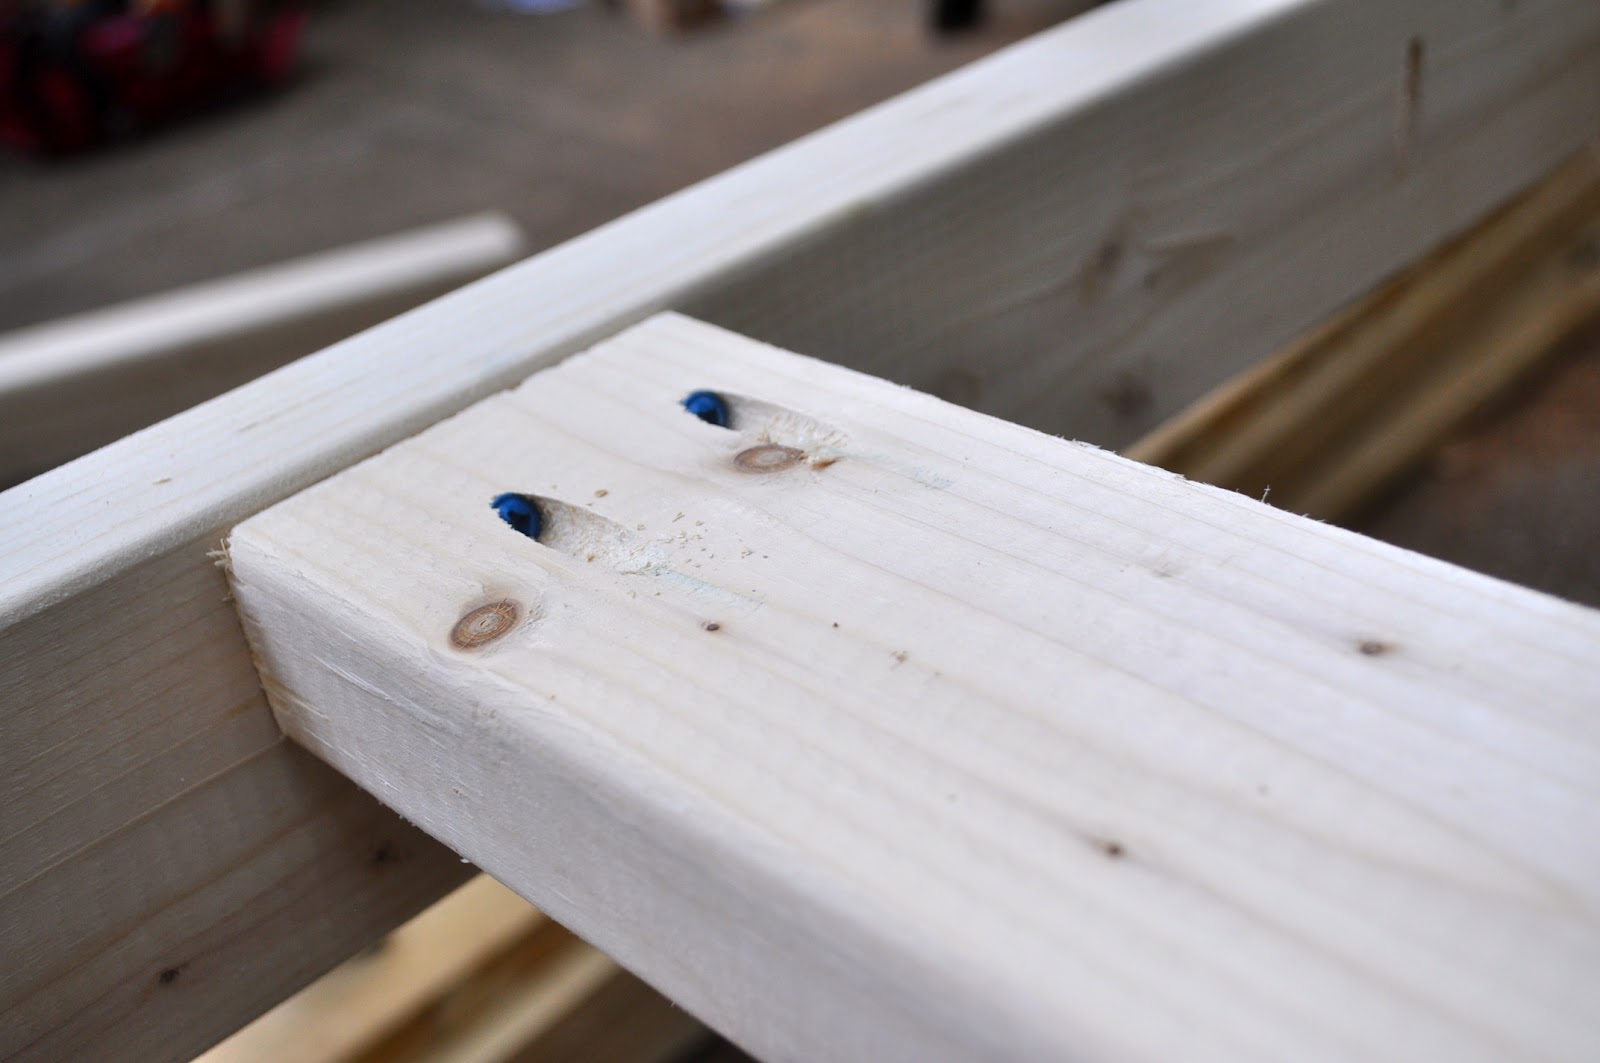
david cut the four legs and the side stretcher that connected them. there would be a total of ten notches. it was the most time consuming part but had to be done. with a circular saw he made about 20 small cuts where the notch would be. we used a chisel to remove the wood that had been cut then sanded the bottom of the notch smooth using a sanding bit on our dremel.


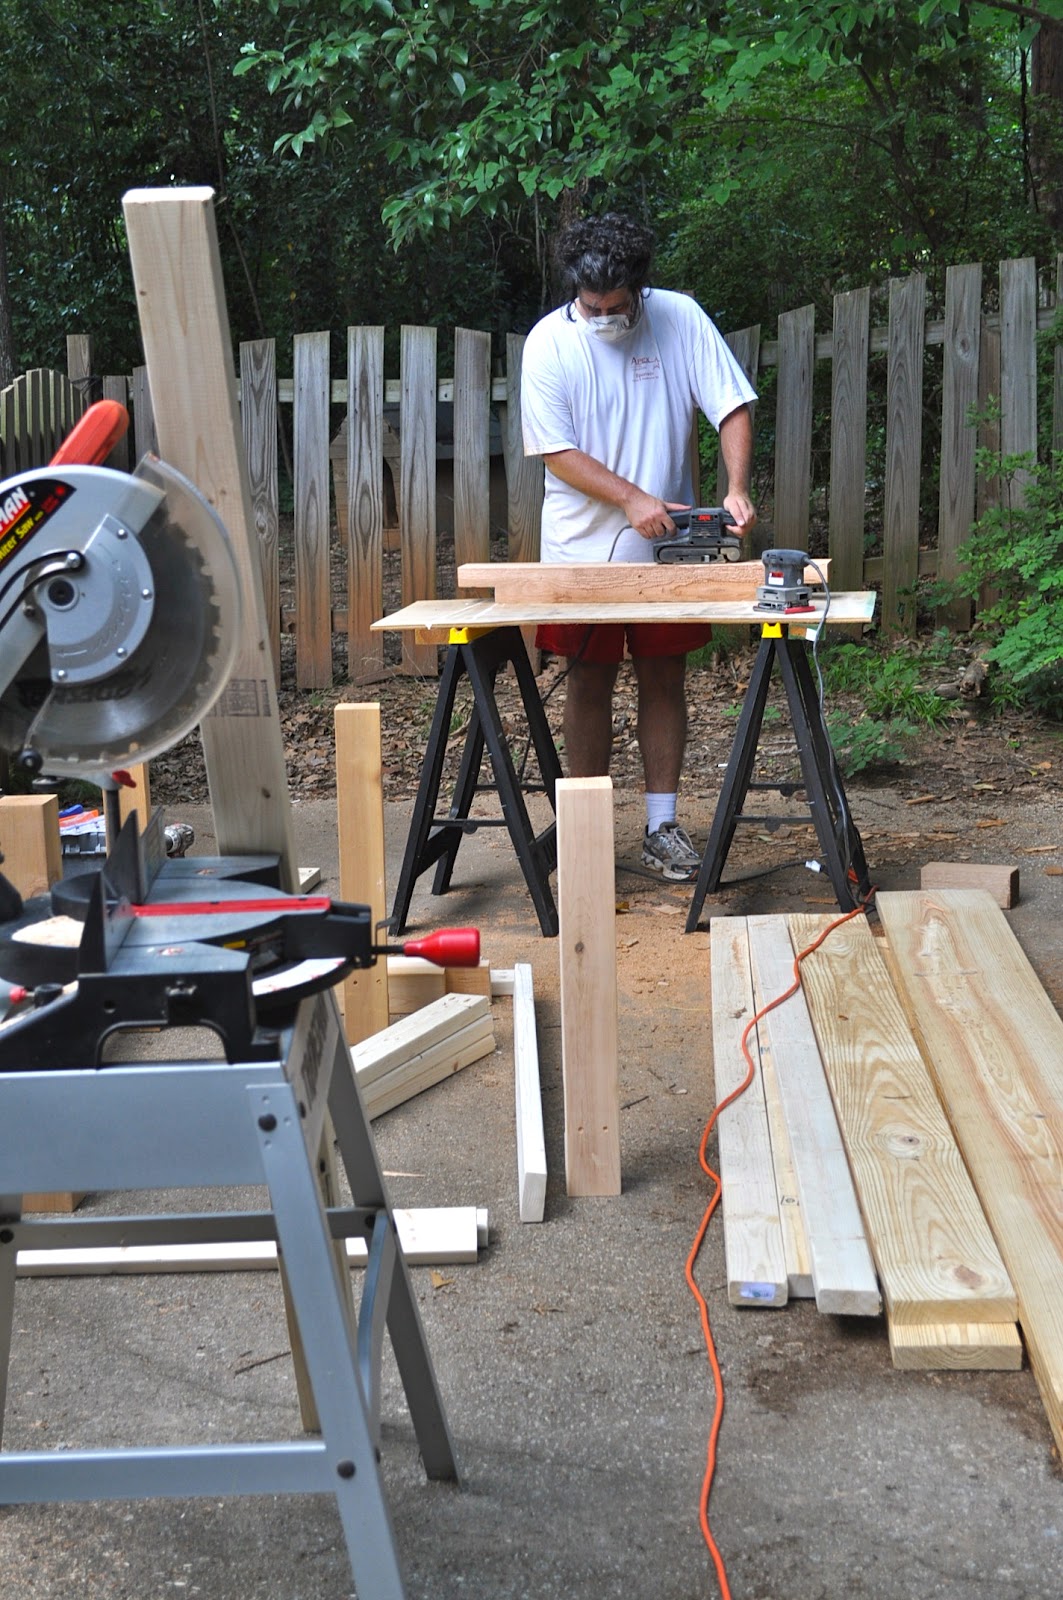
once all the boards were nice and smooth we screwed everything in place. we built the entire table base in one day and it fit perfectly together!!!!


until next time...


1 comments:
Great work so far! Nice attention to detail, really sets it apart...
Post a Comment