to me gardening is like finding gold. it fulfills something in me that i cannot put in words. you pick a plant and bury it in the earth then watch it grow. but it all takes
your time and
your care, and the way
you care for the plant determines its growth... it just all amazes me. then the food you get from what you have grown... amazing!
i have always gardened with already grown plants - the ones you buy at nurserys that are ready to be transplanted in the ground. it's quick and easy and convenient. i do use seeds for peas and beans, but a tomato plant is different. they take time... lots of time.
this year i wanted to test my green thumb at starting tomato seeds (again). a few years back i did this and was very neglectful of my seeds. i let them sprout and gave them water and light, but never got around to the transplant part. this season would be different.
i started with getting the seeds i wanted - organic black krim tomatoes and yellow pear tomatoes. i used a burpee seed starting kit to house the seeds. these kits are self explanatory and very easy to use.
after depositing the seeds into the tray, i watered them, placed the lid on, and kept them on a shelf away from direct sunlight. within one week they were starting to sprout. once all the tiny seedlings were showing, i removed the lid and placed them in front of a window - and here is where the magic happened! they kept growing and growing! once the sprouts started producing leaves, i thinned them out leaving only one sprout per square.
i continued to let them grow for a few weeks. tomato plants will eventually get there first 'true' set of leaves, and when that happened, i trimmed the bottom set of leaves away so all the nutrient supply would go to the real leaves, allowing the plant the nutrition it needed to grow.
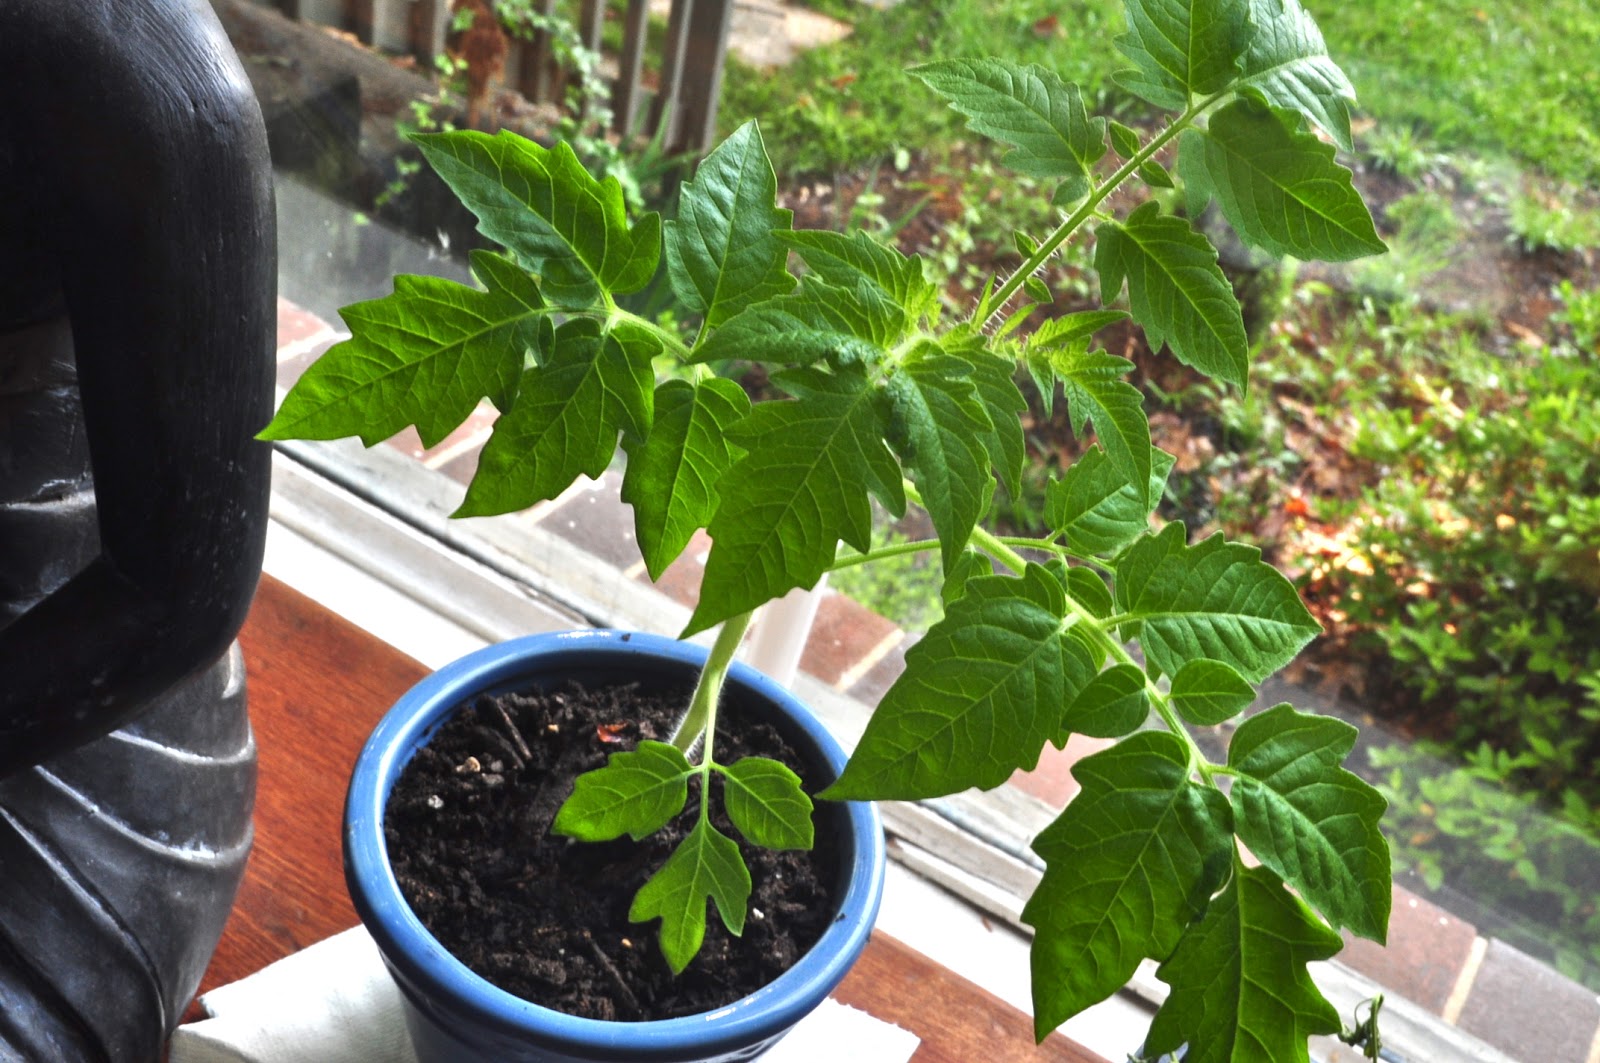
you know your plant is healthy when the stalk looks 'hairy.'
some of my sprouts ended up falling over and dying, but the majority thrived!!!
i picked the best plant i had and transplanted it (
extremely carefully) into a small pot.
i take the plant outside during the day when it's very warm to get some 'real' sun, but always bring it back indoors. our weather here has been a bit up and down, so for now the plant is staying inside in front of a large window.
and after 5 weeks of being transplanted, here is what she looks like today -
next step is to plant her in the ground!!!!


1 comments:
hermosas las plantitas! :)
Post a Comment