here is the part where i would insert a before photo of the sofa table being used.
i am just too embarrassed to show this hunk of junk that has been sitting behind my sofa for three years.
this piece of furniture was claimed by my boy, Oliver, when he was just a tiny pup. good thing he was the cutest thing i had ever seen in my life because this pup chewed EVERYTHING he could wrap his mouth around... including this sofa table.
we have been talking for months (years) of just sitting it outside for trash pickup. i mean, it is trash. but then i had a pinterest breakthrough - sofa table turned upholstered bench.
yes! yes! yes!
folks, here is the only before i am willing to share -
see that white muddy looking spot on the leg that my hubs is cutting off... that was a giant pup chew hole filled over with wood putty. lovely, right?!?!
so all the legs were wacked off.
see more teeth marks on this leg-
and even on the top corner of the table. how on earth did he reach that??? well he did weight in at 50 pounds at a mere five months of age...
now is when i tell you a bit about my precious oliver. he is seriously the most adorable, loving, and sensitive pup. yes, he was quite the nightmare in the early stages because of teething. we would literally leave the room for two minutes and he would destroy something. thankfully, all of that is over. he is now a couch potato and stays in the same spot alllllll day long until we come home from work. he and emmylou have a toy basket and they both go to that for their toys when they want play time. no chewing or destruction anymore... and thank god for that! see my beautiful boy... just precious.
so back to the table - it was just bad.
next we sanded. we hit it good where the legs were cut off so it would have a smooth finish, then lightly over the painted areas.
i painted the table white, let that dry and then gave her a second coat.
i didn't bother painting the top lip of the table because that would all be covered in fabric.
and speaking of fabric, i needed some! i went in search of something blue/green/beige to match my decor and i found a major score at joann's with this beautiful upholstery fabric! if you are upholstering something, spend the money on the good fabric. it really does hold up longer and just looks better.
i also purchased one inch thick foam and some batting, a button cover kit, a super long upholstery needle and some thick thread. i was set!
i covered my buttons using the kit i purchased (which was simple to do).
pretty much in photos- here is how that process goes. you have a mold, the top of the button, the back of the button, and a pusher. cut your circle and lay it on top of the mold, add the top and push it through.
tuck all the fabric to the center of the button
add the back to your button
and pull it out. you have a covered button. simple.
i then measured the width of my table top and took half that number and made a mark. i drew a line down that center mark showing me where i would place my buttons. i marked my four spots to show where the buttons would go and used a long drill bit to drill the holes.
i'm getting pretty darn good with this power drill =)
next i put my foam on the tabletop and cut the excess off with a serrated knife. and no... i
didn't just use my hubbys wusthof serrated knife to cut foam?!?!? ;-)
i laid my batting out on the floor, put the cut foam down and flipped my bench over right on top of the foam. make sure everything is lined up correctly and pulled tight! i used small finishing tacks and hammered those in place every few inches to secure my batting.
once i had went all the way around with the tacks i flipped the bench back over and was ready to add my fabric!
already looking like a bench, don't ya think?!?!
i LOVE that this sofa table had a drawer. STORAGE!!! i'm renaming this to a sofa table turned upholstered STORAGE bench!
another score - i found these beauties nestled away in my closet. i purchased them at an anthropologie sale, and even though there was only two, i knew that one day they would come in handy. boy was i correct!
now- the hard part.
ENTER LIFESAVING TIP
SERIOUSLY, LIFESAVING.
if you only own a manual staple gun (like me) put down the fabric and drive to your local hardware store. buy an electric staple gun. i promise, it will be worth every penny spent. otherwise, your hands will be numb for hours (like mine) and this part will take you like quadruple the time because you just cant keep stapling with a manual gun. your hands will tire and just won't be able to go against the force of pulling that dang trigger.
IRON YOUR FABRIC before upholstering your bench! we definitely don't want an upholstered bench with a crease going down the middle!
i pulled my fabric tight and stapled all the way around the table, but leaving the corners for last. when i did staple the corners, i just pleated the fabric to the corner of the table top, then stapled it in place.
trim your fabric as you go cutting as close as you can to where you stapled. once everything was secure and stapled, i flipped the bench over and put another round of staples around the entire thing.
(seriously, have you ever used a staple gun? it's reallllllllly hard.)
i bet i used 300 staples.
FINISHED!!!!!! all that is left is adding your buttons and this part is completely optional. it does make an adorable finished looked, in my opinion. i love tufting with covered buttons. perfect for benches, ottomans, and upholstered headboards.
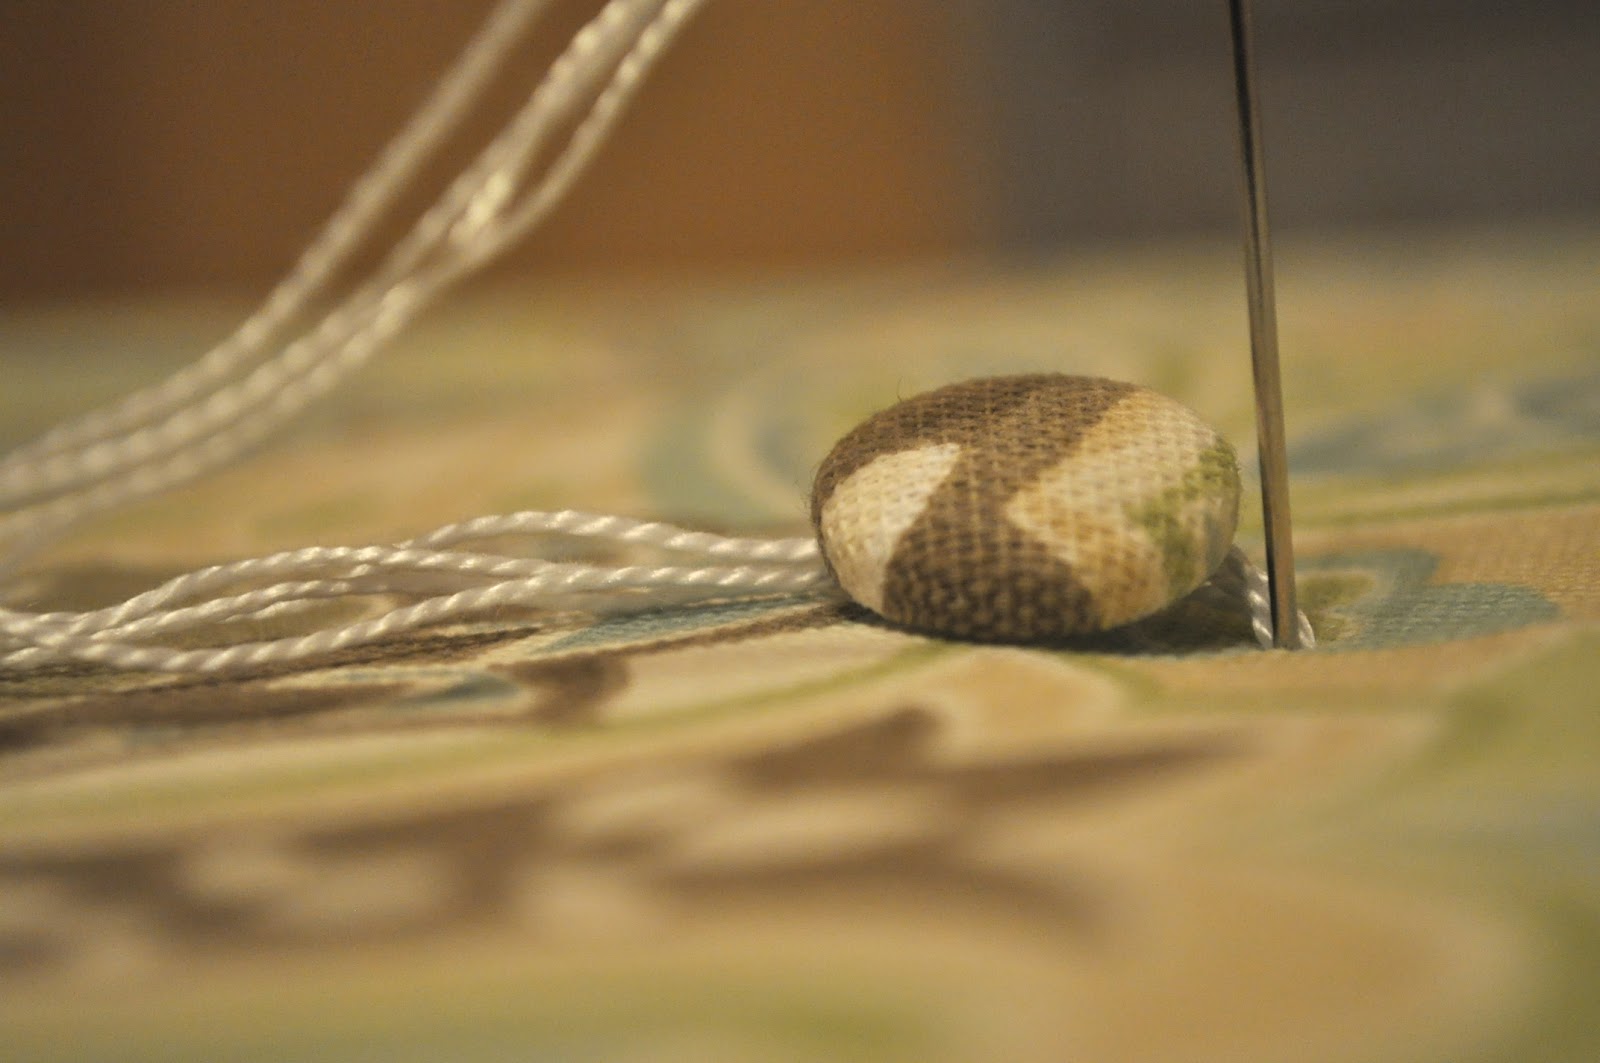
remember that 'mega' needle i purchased -
double up your thread and bring your needle up through the bottom hole.
i stitched through the loop twice for extra support.
then insert your needle back through the same hole. this can be tricky, but just keep at it and eventually you will find it.
pull your string tight to create the 'tufted' look.
and staple your remaining thread a bazillion times to secure it.
and there you have it. you have a lovely upholstered and tufted bench!!!
i'm in love with how it turned out! and to think that we almost trashed this old junky sofa table.. just goes to show you how someones trash can truly be anothers treasure.
here is my cost breakdown for the new bench-
fabric - purchased two yards and used a 40% coupon = approx. 20.00
foam - purchased 60 inches and also on sale for half of = 12.00
batting - 6.00
ginormous needle - 5.00
thread - 1.00
finishing tacks - 2.00
staple gun and staples - free (already had them)
table - free
knobs - free
grand total for a brand new piece of beautiful furniture - 46 BUCKS!!!!
can't beat that.